Shower baths are used in bathrooms designs where space is at a premium. A shower bath replaces both the bath and a shower in one so they can free up significant space in older bathrooms. Shower baths can be a DIY project and here is a quick guide of how to install a shower bath. The installation instructions for the Discovery shower bath is discussed here and it includes the glass shower panel.
Install the shower bath ensuring that the bath is level. Remove the enclosure from the packaging. The door is upright when the plastic marker on the glass is at the top (Figure 1.).

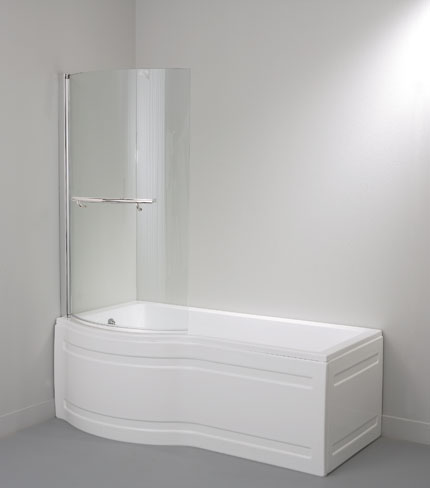
Remove the aluminium wall mounting bracket from the door and position along the edge of the bath. For the Isede bath align the outer edge of the bracket with the outer edge of the bath. For the Discovery, fit the outer edge of the bracket 30 mm from the outer edge of the bath(as shown in figure 2).

Ensure that the wall bracket is perpendicular to the bath so that the door will hang and swing freely. Use a spirit level. Mark the positions and drill the holes. Fit the bracket to the wall using the screws and wall plugs provided (Figure 3.).

Now fit the door on to the wall bracket and screw into position (Figure 4.).

Clip the aluminium cover strip onto the wall bracket and the hinge (Figure 5.).

Attach the handle to the outside of the door and fasten with the chrome caps provided. The longer cap must be farthest from the hinge of the door (Figure 6.).

Contents of the shower bath kit:
3 x Wall plugs
3 x Screws
1 x Plastic gasket
1 x Aluminium Cover strip
1 x Alan key
1 x Chrome Handle
1 x Bracket
1 x Glass door