This is the basic instructions of how to install the stainless steel HCL pedestal pan with a back entry exposed flush valve (not shown). This installation instruction can also be used for the back entry hidden or concealed valve installation.
Step 1:
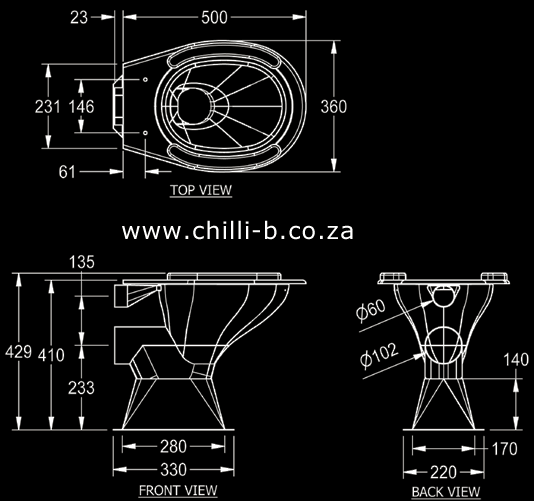
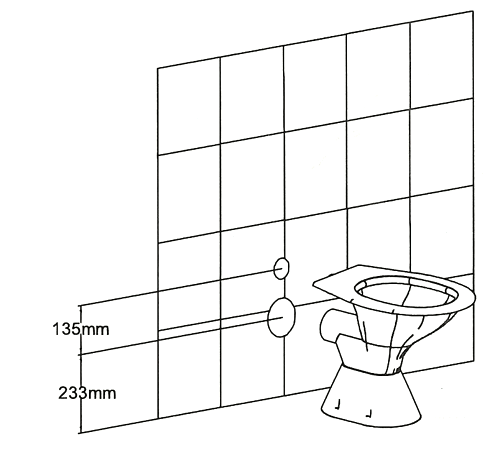
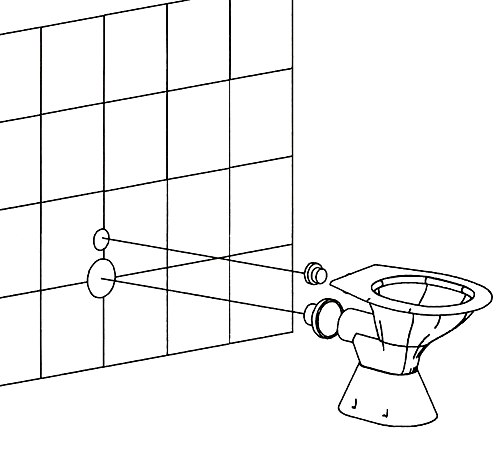
Drill holes with centre height 233 mm from the finished floor. Note that the floor must be finished and completed, if you still need to screed or install tiles, the 233 mm height will be too low.
Step 2
Insert the rubber plug into the inlet pipe and rubber seal on the outlet pipe.
 Step 3
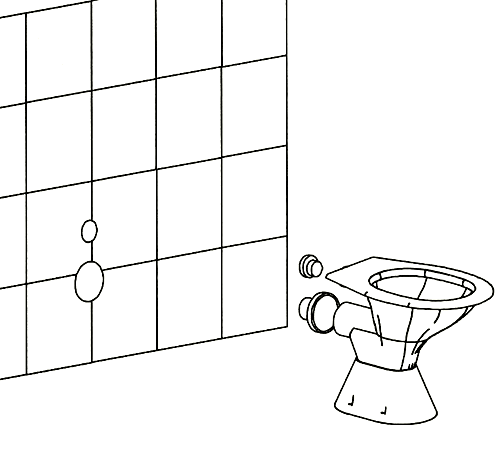
- Align the pan with the pipes installed in the wall.
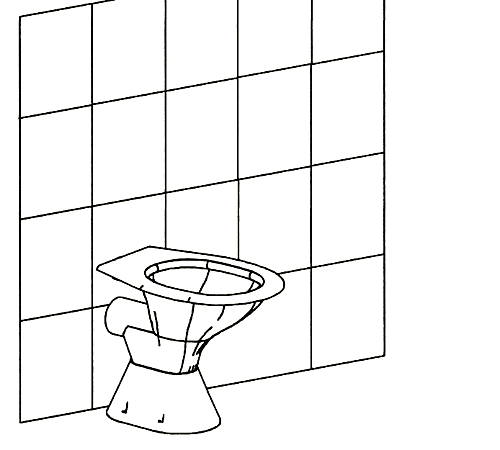
- Place the pan to achieve final installation position and mark the floor where the pan must be fastened.
- Remove the pan from its position. You should clearly see the marks on the floor where the pan must be fastened.
Step 4
- Drill holes in the floor as per plinth holes positions from the HCL Pedestal pan
- Re position the pan over the drilled holes and fix securely.
- Fasten the four M8 75/100mm rawl/dyna bolts into plinth holes.
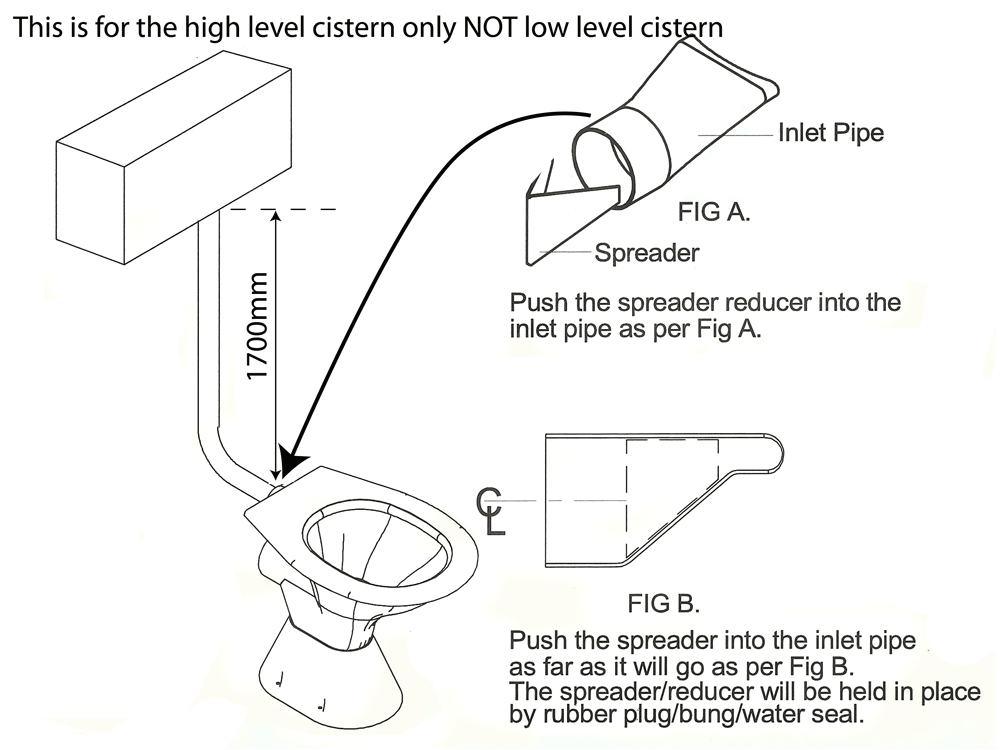
Using a High Level Cistern
If a high level cistern must be installed, a reducer needs to be inserted into the small inlet pipe. The reducer is supplied with the toilet. The reducer needs to be squeezed into the inlet pipe since it is a tight fit. Push it far back as possible. Never use the reducer with a low level cistern, the toilet will not flush properly.
And finally for high level cisterns